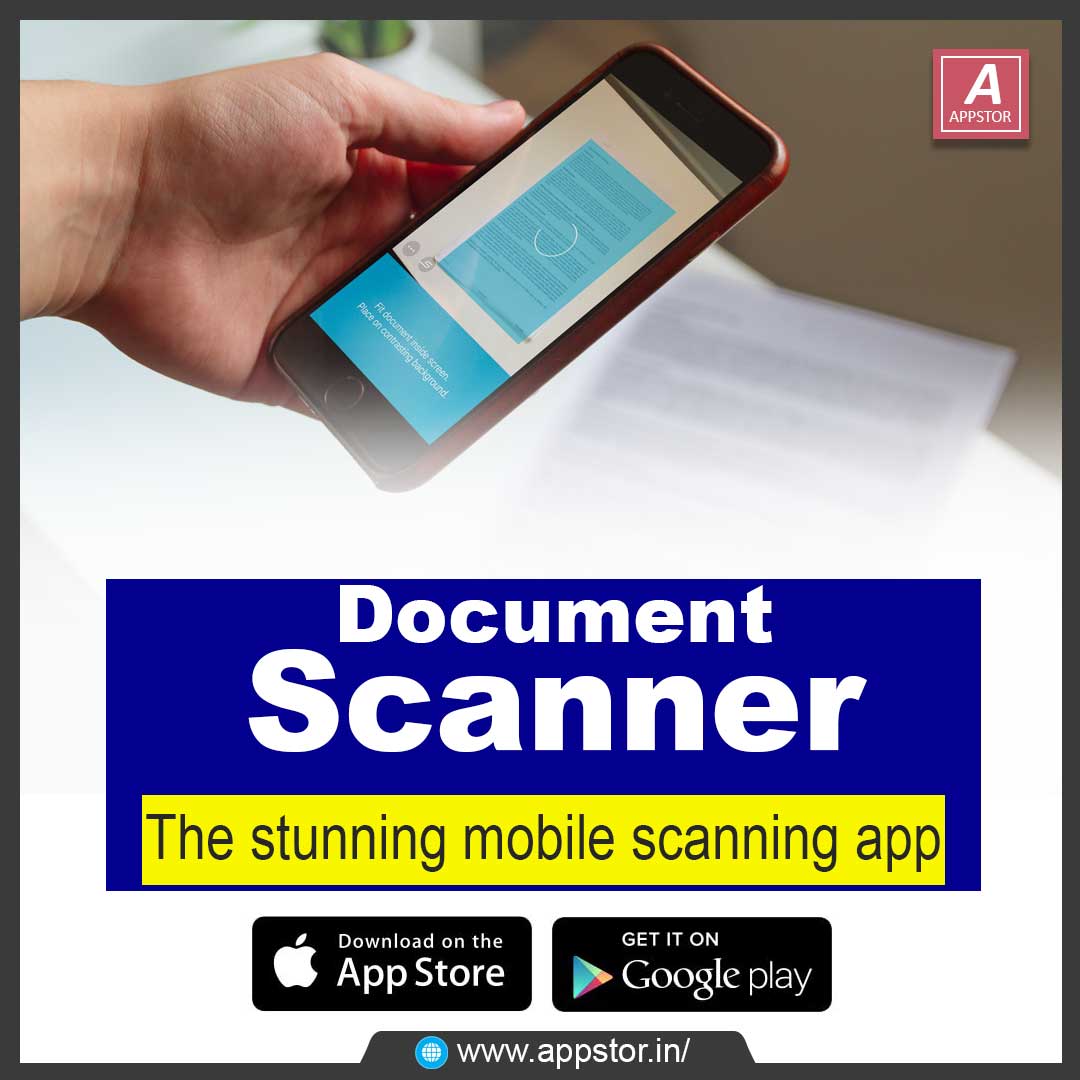
Document Scanner is an Indian scanner app which provides you with more advanced scan options in comparison with any other apps on the store. This app provides more than 50 tools to edit and manage documents.
Sometimes in a single day, you need your different documents scanned many times. In that situation, if everything is planned you will definitely not suffer more. But if the need to scan that document arises one by one, it will be a disaster for sure.
To rescue you from that situation, there is an amazing app named ‘Document Scanner’. This app will let you scan your documents anytime anywhere. There are some additional features in the app which makes your document after scanning more professional and good to look at.
Step by step guide on how to use this app:
• Firstly, go to Play Store and search Document Scanner. You will see a lot of apps from which you have to select the app ‘Document Scanner- Free Scan PDF & Image to Text’.
• Select that app and install it. After the app has been installed on your mobile, open the app. When you open the app, you can see that it is loading. It has a beautiful interface.
• If ads appear, you need to close them.
• In the interface, in the upward portion you can see the heading ‘Document Scanner’.
• In the downward portion, a figure of both the Camera as well as Gallery can be seen.
• If you need to take a new document to scan, click on ‘Camera’. The access to camera will be asked, allow it. Access to media, that is gallery will also be asked, allow it too.
• The camera will be opened. You need to take a photo of the document to be scanned by focusing on it properly.
• After taking the photo, you need to crop it well and click on the tick mark shown below.
• In the downward portion, so many enhancements can be seen. You can use effects if you wish to. For instance, if we use the option ‘Light’ it will add more brightness to the photo. Then click on the tick mark.
• Then, the scanned document can be seen as being saved. Select it once more.
• In the right side of the downward portion, you can see a pen icon and a share icon on the left side.
• Now, you can share the document to WhatsApp or Gmail.
• If the document is a certificate and self-attestation that is, digital signature needs to be added; click on the pen icon and you can see many options below.
• You have to select the pen which is situated on the most left hand side and you can put your signature there. Then click on the tick mark. Next, you can place the signature on the area where you wish to, you can also increase its size too.
• You need to ensure that you put your signature in a very neat manner. Then only you should click on the tick mark.
• You can get a self-attested copy of your documents in this manner. Documents such as identity card can be easily scanned in this way.
• You can see various options to share the scanned document. Try not to share it in WhatsApp as it may reduce the quality of the scanned document. Try to attach the scanned document to your email id from where you can download it and upload it to where it is required.